Mastering Supply and Demand Zones: The Trader’s Edge
Ever watched a price rocket up or crash down and wished you’d seen it coming? That’s where supply and demand zones come in. Unlike basic support and resistance, these zones reveal the hidden battle between buyers and sellers. They’re the secret weapon of professional traders, and today, you’re going to learn how to spot them like a pro.
How It Works
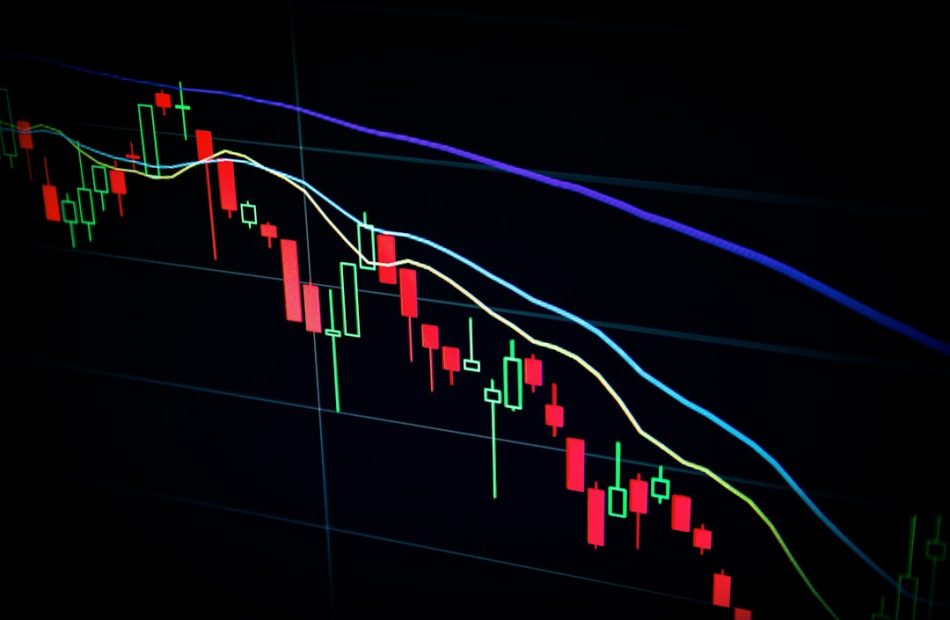
Supply and demand zones are areas on your chart where price has made a strong move away, leaving behind an imbalance. A demand zone is where buying pressure was so intense that price shot up—think of it as a floor where smart money stepped in. A supply zone is the opposite: a ceiling where sellers overwhelmed buyers, causing a sharp drop.
These zones are different from simple lines. They’re zones (not single price levels) because the market respects an area, not a precise number. The key is to look for strong, impulsive moves—long green or red candles—followed by a retracement. That retracement is your zone.
The Setup
Here’s a step-by-step to find and trade demand zones:
1. Identify a strong move up: Look for a large, impulsive candle that breaks through previous highs with volume.
2. Find the base: Before that move, find the consolidation area (a few candles ranging sideways). That’s your demand zone.
3. Wait for a retest: Price often comes back to test that zone. That’s your entry.
4. Enter long: Place a buy order when price touches the zone and shows a bullish reversal pattern (like a hammer or engulfing candle).
5. Set a stop loss: Place it just below the zone.
6. Take profit: Aim for the next supply zone above, or use a 1:2 risk-to-reward ratio.
For supply zones, reverse the logic: look for a strong move down, find the base before it, wait for a retest, and sell short.
Risk Management
No strategy works without protecting your capital. Here’s how to stay safe:
- Always use a stop loss: Place it 5–10 pips below/above the zone. If price breaks the zone, you’re out.
- Position size: Never risk more than 1–2% of your account on a single trade.
- Watch for fakeouts: Sometimes price pierces the zone and reverses. Wait for confirmation (a close outside the zone or a reversal candle) before entering.
- Combine with other tools: Use volume or RSI to confirm the zone’s strength. High volume adds conviction.
Conclusion
Supply and demand zones give you a window into where the big players are active. They’re not perfect—no tool is—but they’ll sharpen your entries and boost your confidence. Start by marking them on a daily chart, then move to lower timeframes. Practice on a demo account first. Remember, trading is a skill, not a lottery. Stay patient, stay disciplined, and those zones will become your edge.