
Master Supply and Demand Zones: The Hidden Blueprint of Smart Money Moves

Imagine being able to see where the biggest traders are placing their bets before the price even moves. That’s the power of supply and demand zones. Unlike support and resistance lines, which are just single price levels, these zones represent real areas of imbalance between buyers and sellers. When you learn to spot them, you stop chasing price and start anticipating reversals with confidence.
How It Works
At its core, supply and demand trading is about identifying where large institutional orders sit. A supply zone is a price area where sellers have overwhelmed buyers, causing a sharp drop. A demand zone is the opposite — where buyers stepped in aggressively and drove price higher. These zones act like magnets: when price returns to them, the same imbalance often repeats. The key is to look for strong, impulsive moves away from a base of consolidation. That base is your zone.
The Setup
To trade this strategy, follow these steps:
1. Find a strong move – Look for a candle that shoots up or down with high volume and little to no wick.
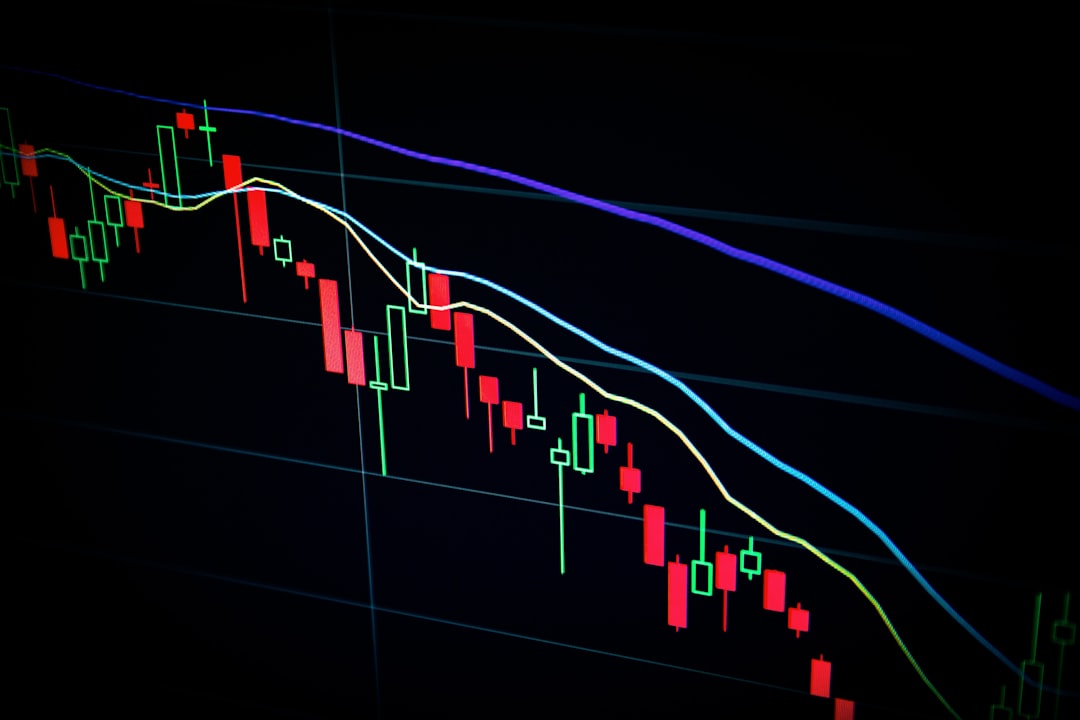
2. Identify the base – The consolidation area just before the move is your zone. Draw a rectangle covering the range of those few candles.
3. Mark the zone – For a demand zone, draw from the low of the base to the high of the base. For supply, reverse it.
4. Wait for a retest – Let price come back into the zone. Do not enter immediately; wait for a confirming candle (like a pin bar or engulfing pattern) to signal the imbalance is still active.
5. Enter and set stops – Place your entry at the confirmation candle close. For demand trades, set your stop loss just below the zone. For supply trades, just above it.
Risk Management
Supply and demand zones are not magic — they fail sometimes. Protect yourself with solid risk management:
- Risk no more than 1-2% of your account per trade.
- Always use a stop loss just outside the zone. A break into the zone and a close beyond it means the imbalance has shifted.
- Take partial profits at the nearest resistance (for demand) or support (for supply), and let the rest run to the next zone.
- Avoid trading zones that are too wide — a zone with a large range means more uncertainty. Stick to tight, clean zones.
Conclusion
Supply and demand zones give you a trader’s edge by revealing where the big money is hiding. They turn chaotic charts into a clear roadmap of price behavior. Start by practicing on a demo account: mark every strong move and wait for the retest. With patience and discipline, you’ll soon see that price respects these zones again and again. Trade the zones, not the noise.